寸法を変えてダウンロードできる3DモデルをAutodesk Fusionで作ってMakerWorldで公開する
イントロダクション
「寸法を変えられる3Dモデルを公開したい」
「利用者が好みのサイズで即ダウンロードできたら便利」
そんな要望を叶えるのが MakerWorld の Parametric Model Maker 機能です。
Autodesk Fusionで設計したパラメトリックモデルを公開すれば、誰でもブラウザ上で数値を調整して 自動生成された3Dデータをダウンロードできます。
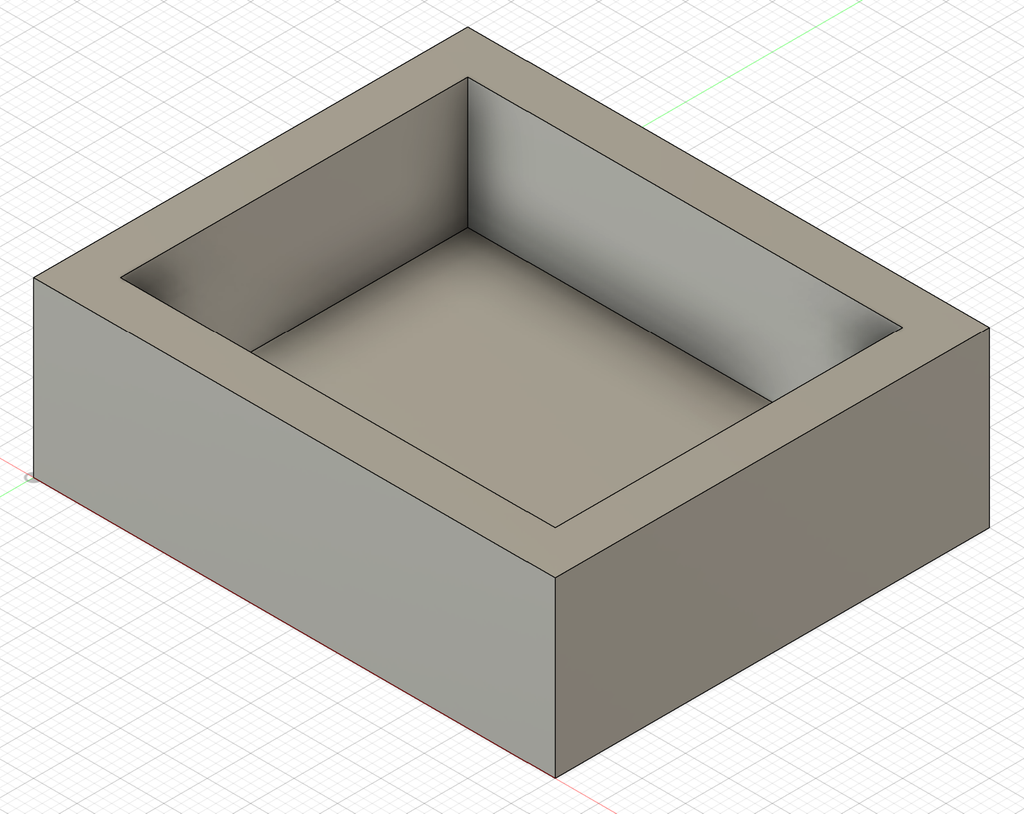
今回は、寸法が変更可能な箱の3Dデータをつくってアップロードする手順を紹介します。
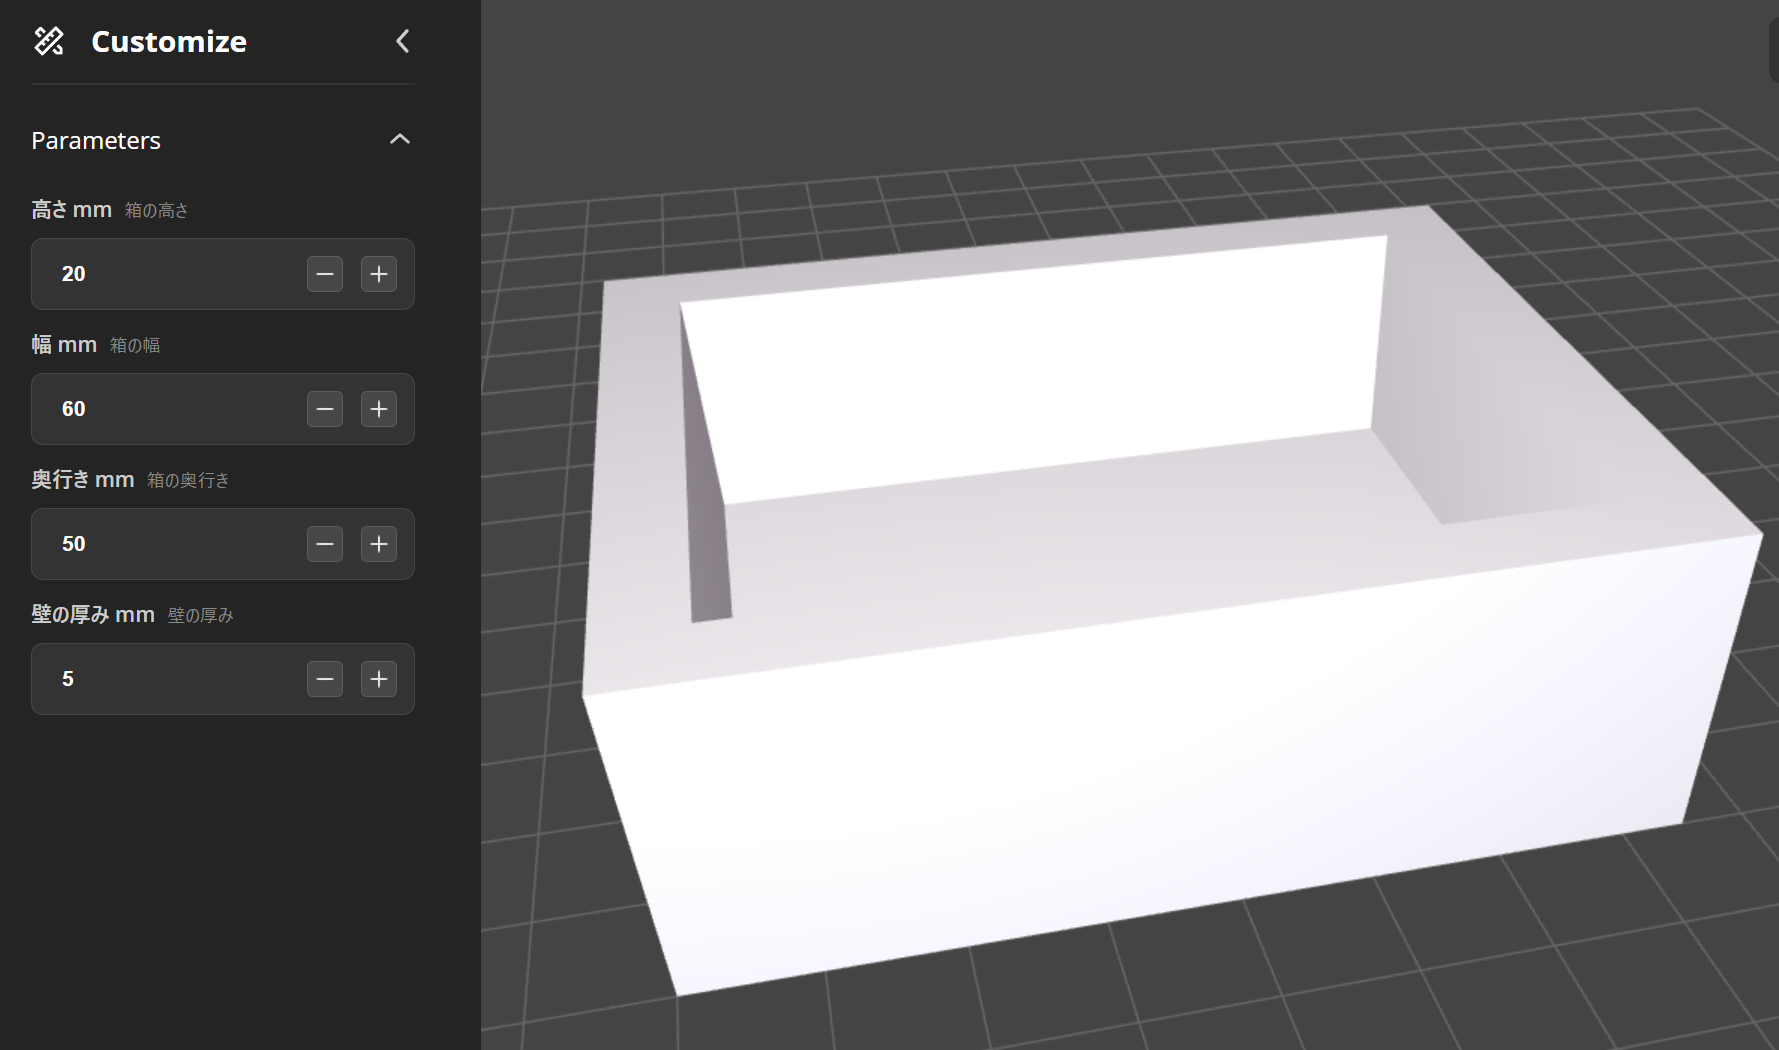
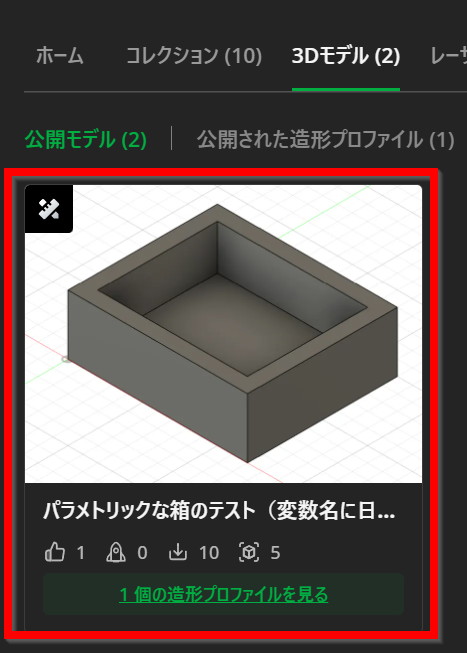
下記のように、MakerWorldで寸法をユーザが自分の用途にあわせて変更すると、そのパラメータが反映された3Dデータが表示され、ダウンロードすることが出来るようになります。
カスタマイズ可能なモデルの作例
数多くのMakerWorldユーザーが、カスタマイズ可能なモデルを公開しています。
Autodesk FusionとMakerWorldについて
- Autodesk Fusion (旧Fusion 360)
Autodesk 社が提供する3D CADソフト。
スケッチや押し出し、アセンブリ設計などに加え、「ユーザーパラメータ」機能で寸法や比率を変数化できるのが特徴。
教育機関や個人向けに無償プランも提供されています。
- MakerWorld
3DプリンターメーカーのBambu Labが運営する3Dプリントモデル共有サイト。
STL/3MFなど3Dモデルデータの公開だけでなく、Webブラウザから使えるユニークなモデリングツールも提供しているのが大きな特徴です。
Autodesk Fusionでデータをつくる
設計履歴を有効化
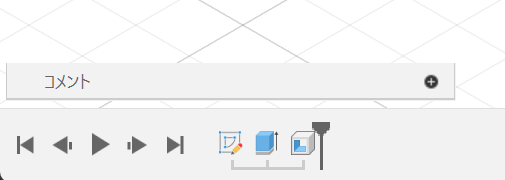
Autodesk Fusionのパラメトリックモデリングを有効化していることを確認します。
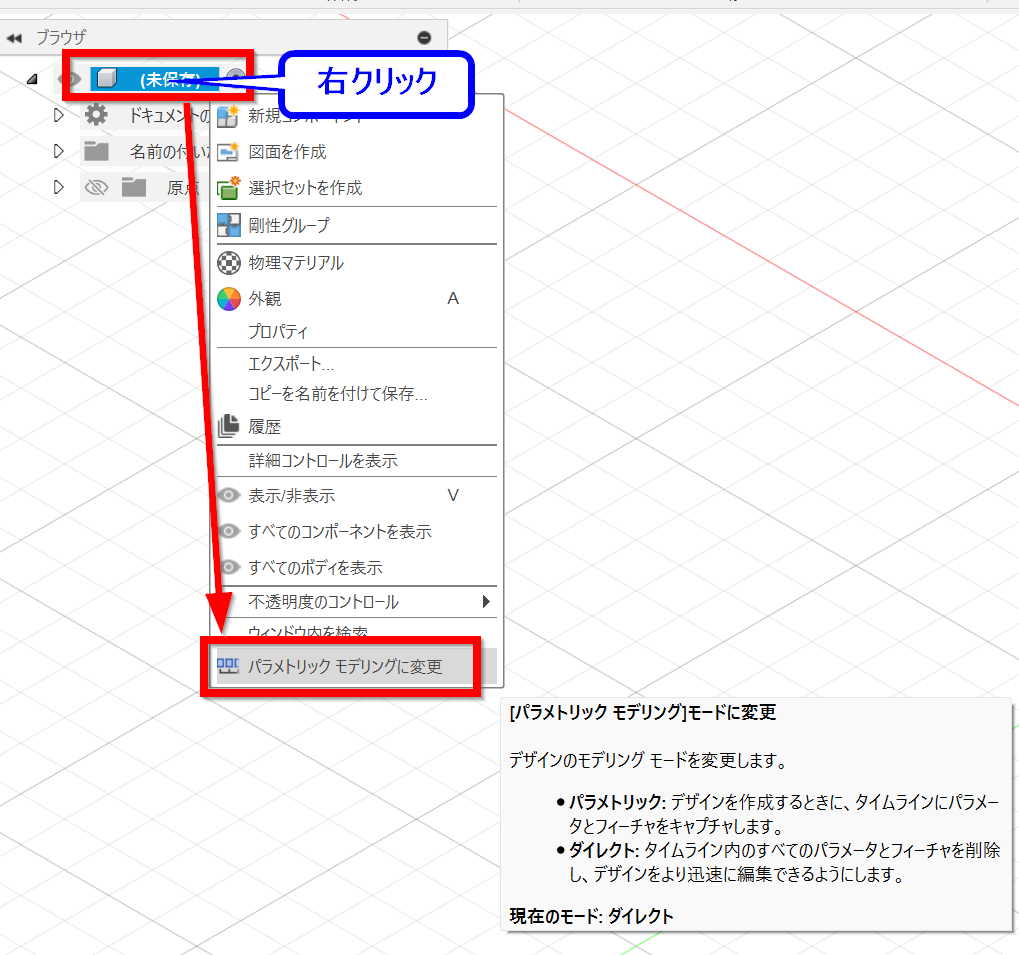
もし画面の左下にヒストリー画面が出ていない場合
ブラウザ内の一番上のコンポーネントを右クリックして をクリックします
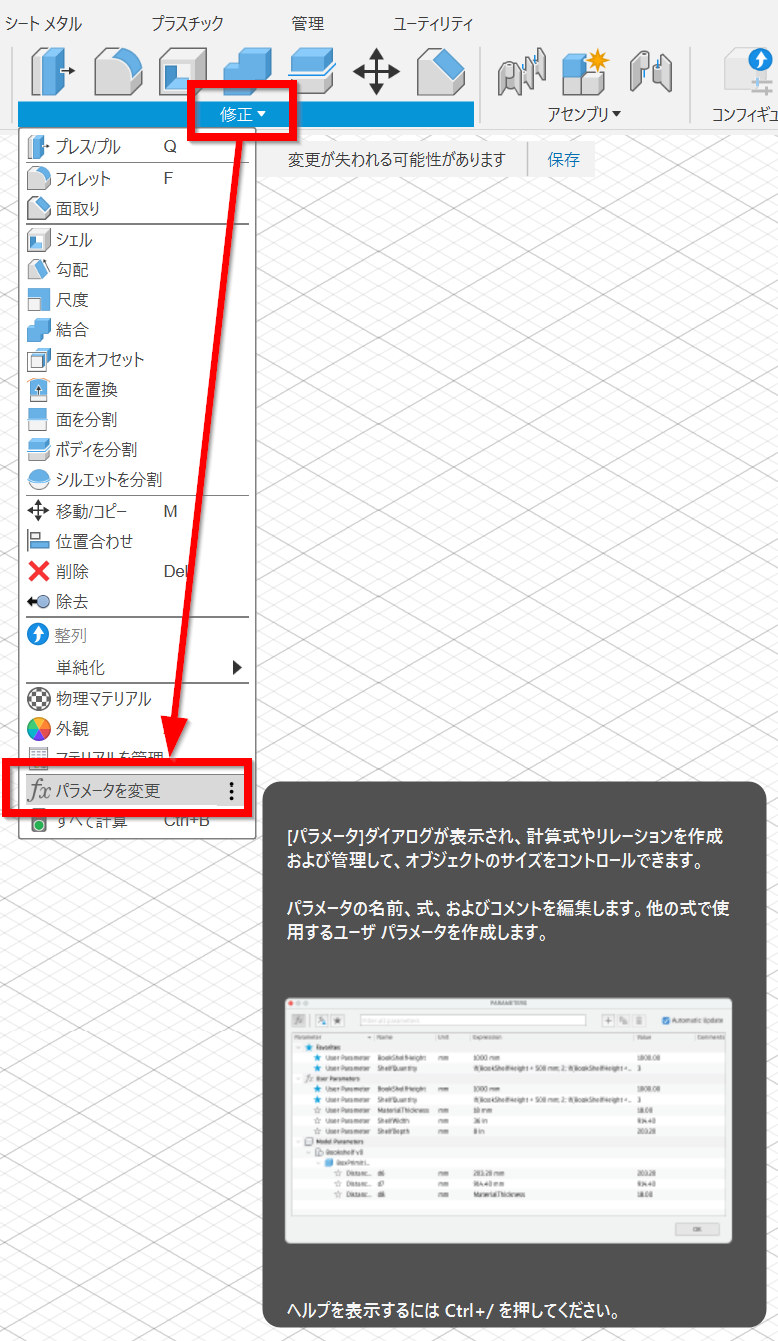
パラメータを定義
> をクリック
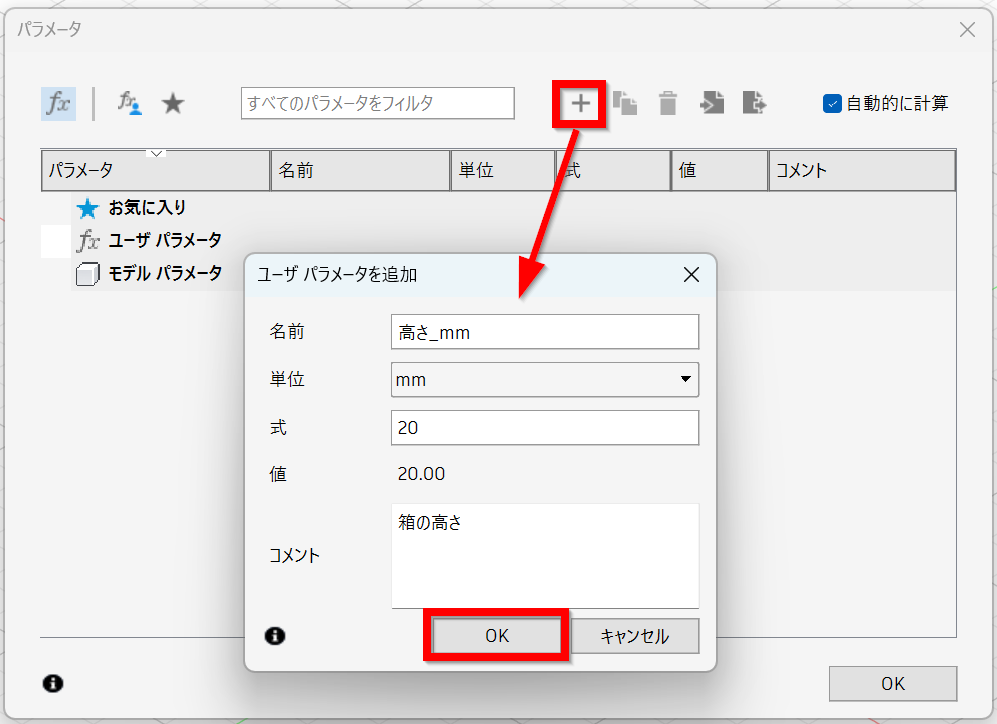
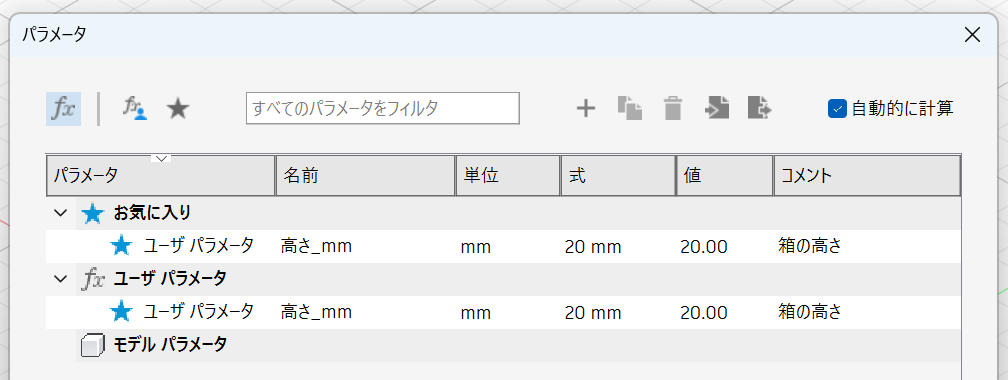
「+」( )をクリックして、変数名・数値などを入力して をクリック
- 名前:変数名。日本語入力可
- 単位:「単位無し」にすると上手く動作しないので、なにかしらセットする
- 式:数値を入力しておくと、その数値が初期値としてセットされる。
- コメント:変数の説明。日本語入力可。MakerWorldの変数欄の下に表示される
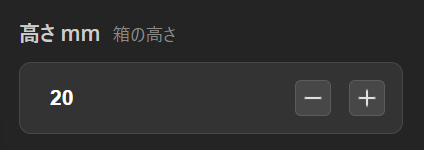
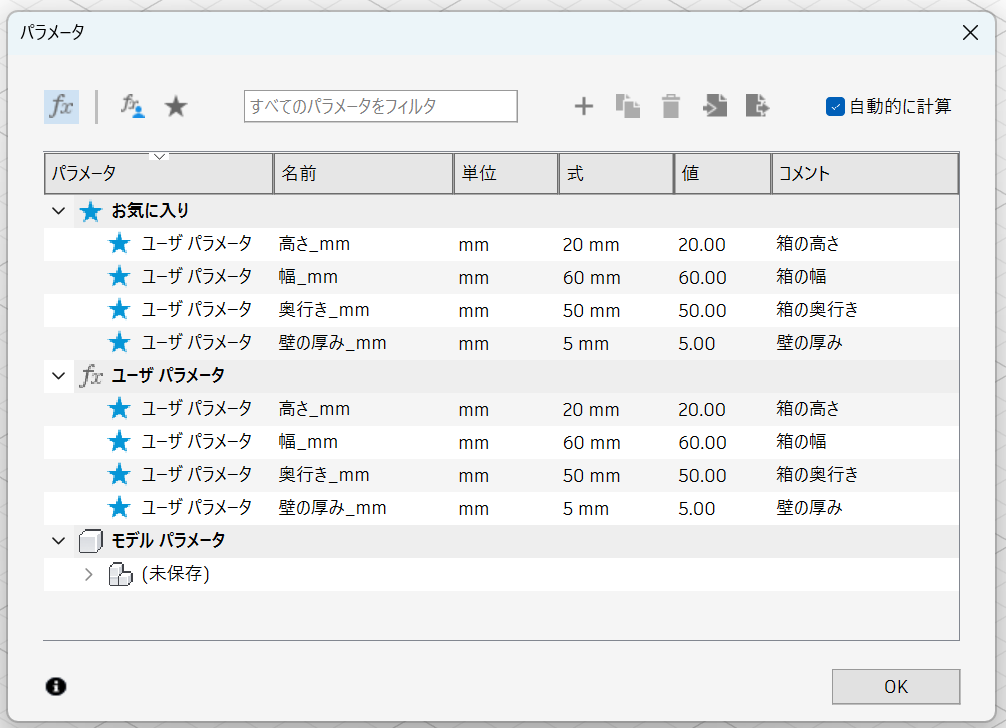
この設定だと最終的にはこの様に表示されます
公開するパラメータを「お気に入り」にする
ユーザーが変更できるパラメータの左にある をクリックする
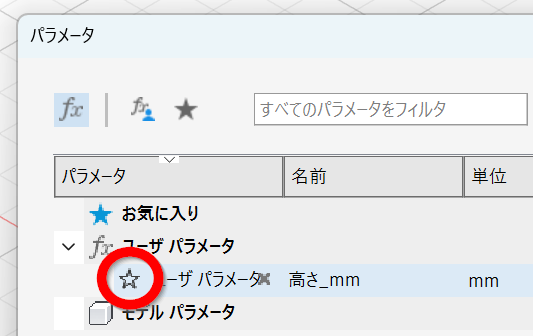
「お気に入り」に表示されているパラメータのみMakerWorldの画面に表示され、ユーザが変更可能になります。
パラメータを使ってモデルを設計
スケッチやボディの押し出しなど、寸法を指定する場所で変数名を入力してモデルを設計します。
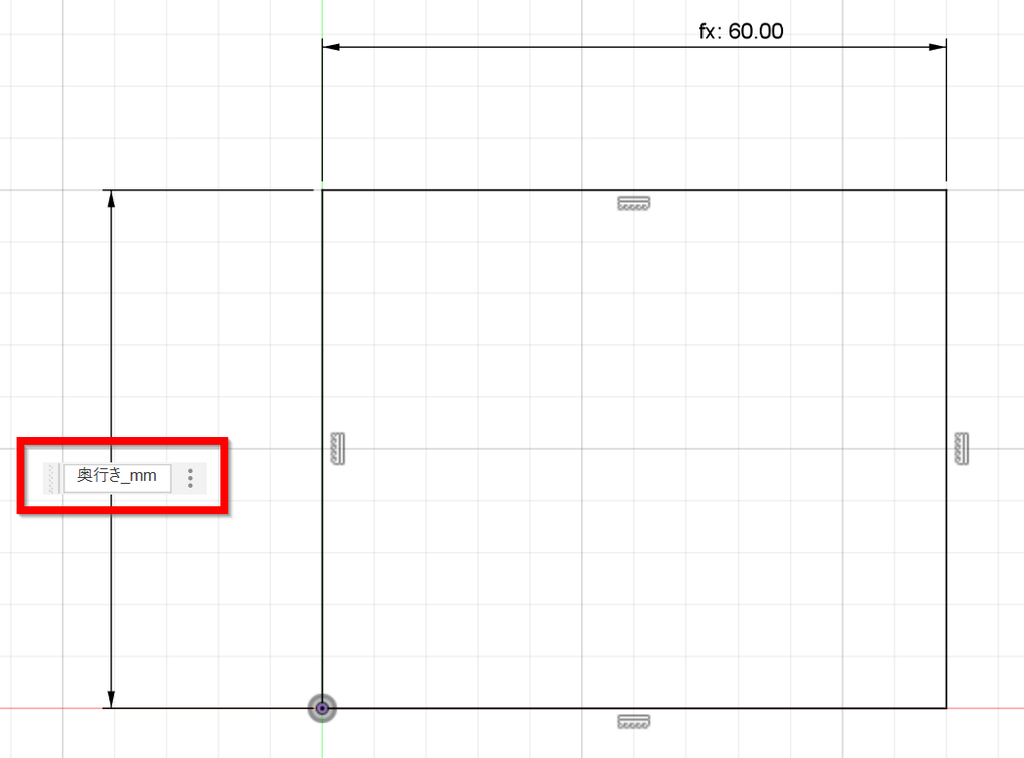
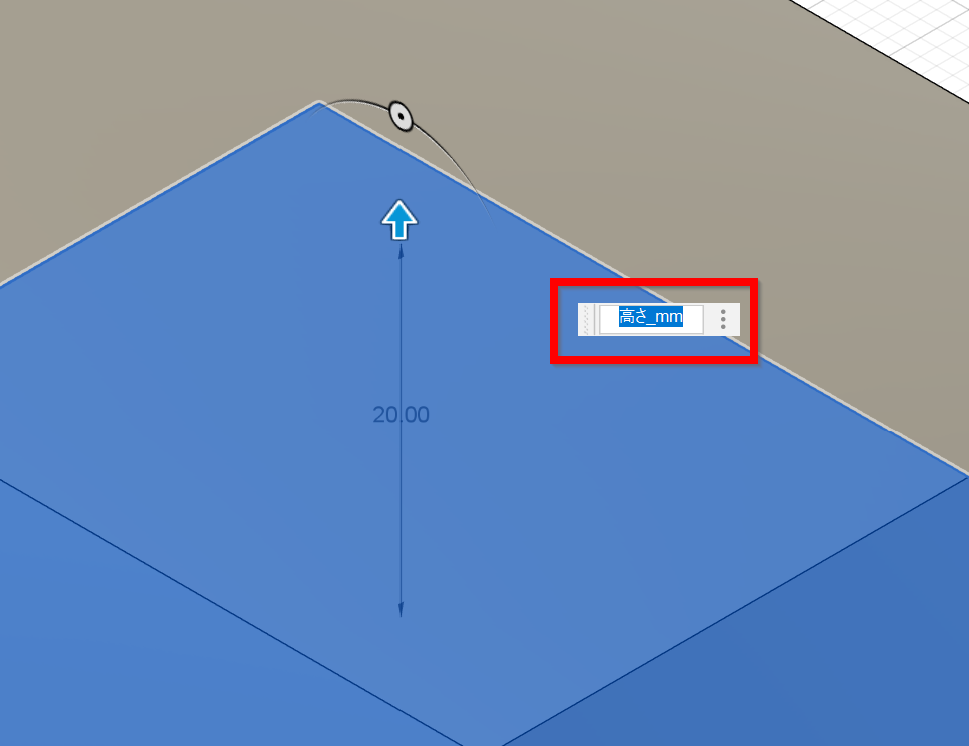
必要な変数があれば、一つ前の手順で変数を追加していきます
モデリングするときの注意点
- 複雑すぎる形状だと生成の計算に時間がかかることがあります
- 原点の近くに配置しましょう
- 「穴の個数」など単位無しの値を設計で使いたいときは、変数の単位を「ピース」などにして、変数の指定欄に というように単位で割ると変数無しの個数が指定できます

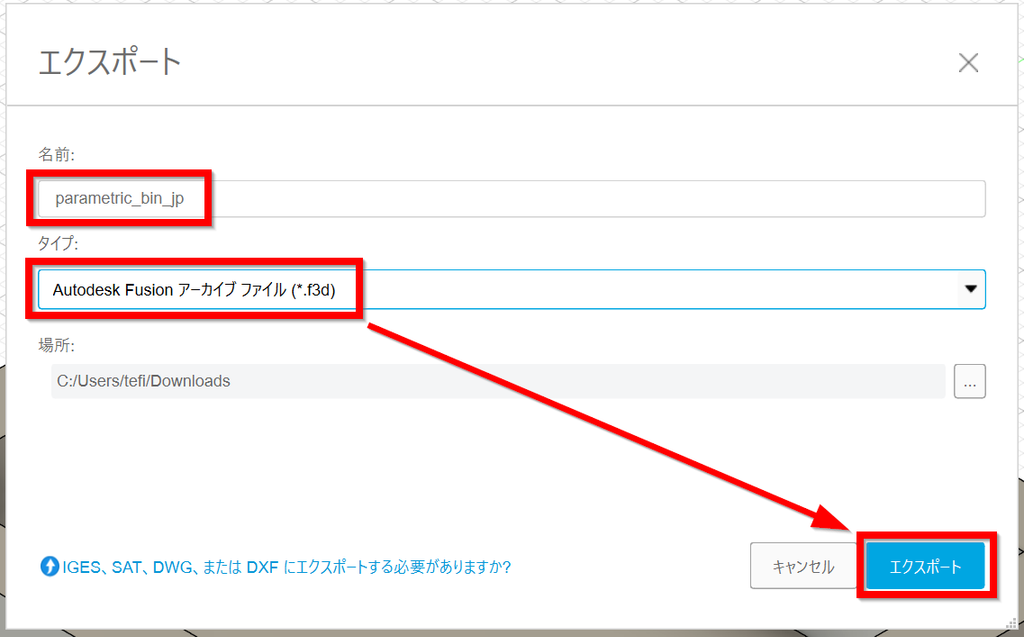
3Dデータ( )のエクスポート
→
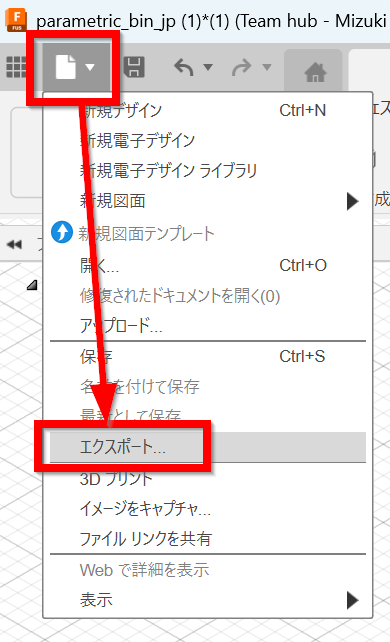
→
その他のファイルの準備
MakerWorldにはモデルのカバー画像が必要です。
スクリーンショットなどを撮って準備しておきます。
MakerWorld でのアップロード
MakerWorldにアクセスし、ログインする
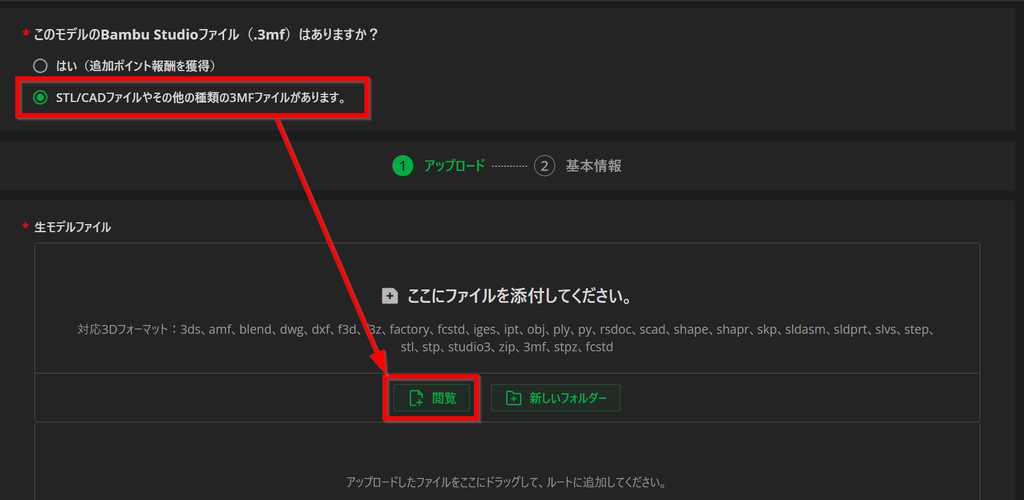
アップロード(↑)アイコンから をクリック
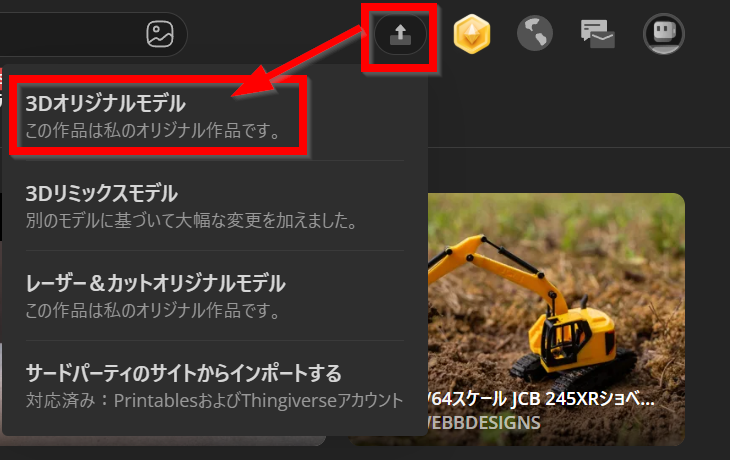
を選択、
生モデルファイルの をクリック、先ほど保存したf3dファイルを選択します
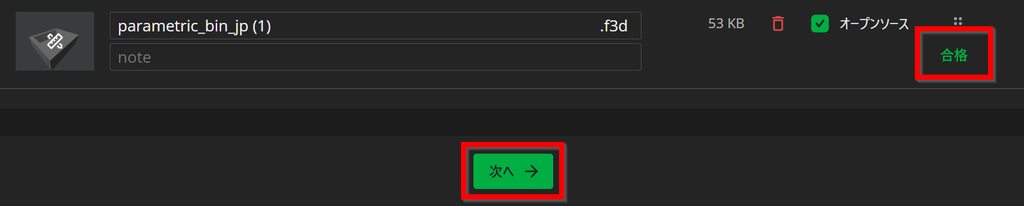
ファイルのチェックが開始され、右下に と表示されます

が に変わるとチェック完了です。 をクリックします
Web/Appカバーもしくはアプリカバーのどちらかの( )をクリックしてモデルカバー画像をセット

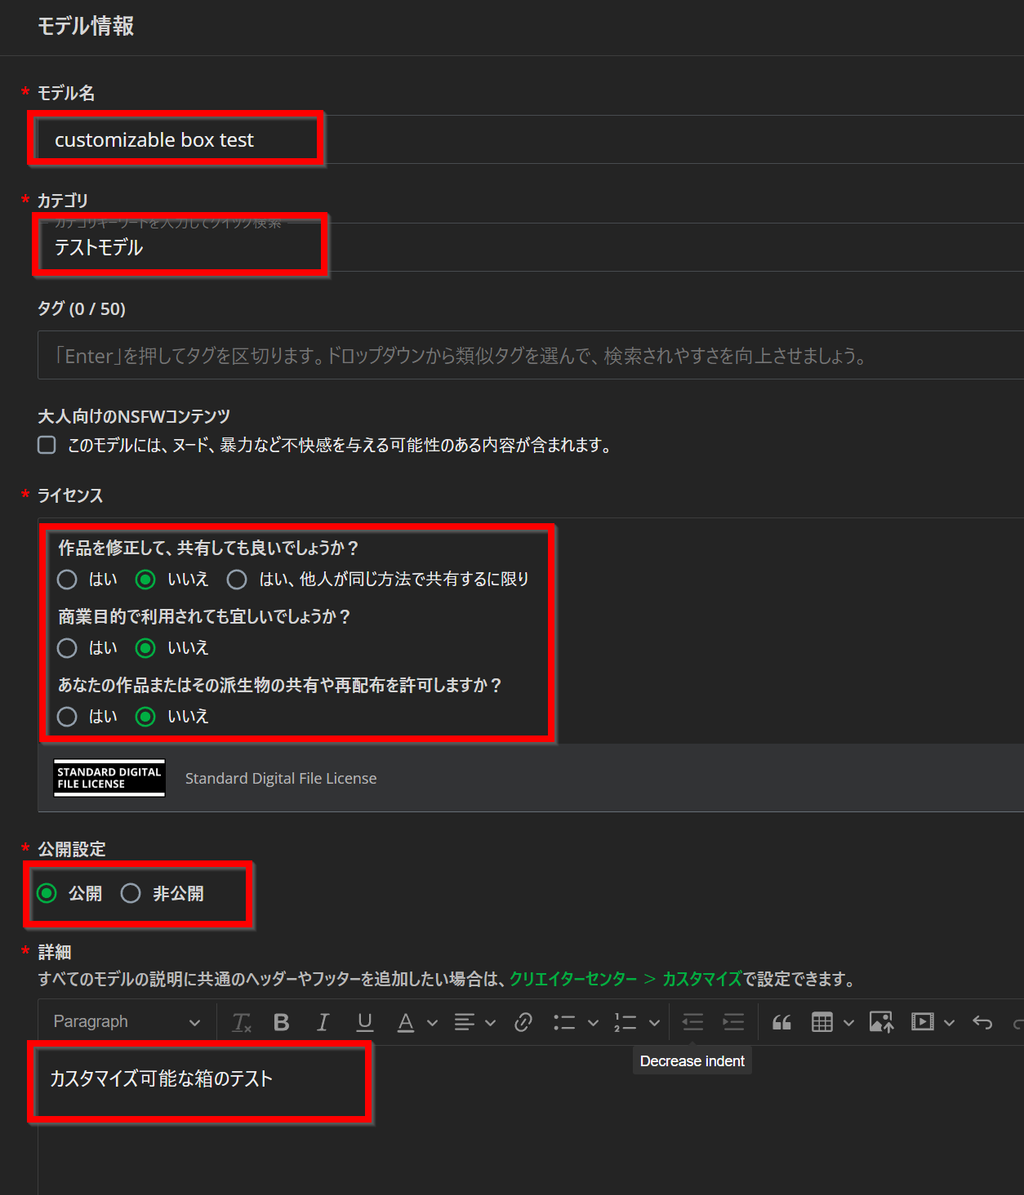
モデル名・カテゴリ・ライセンス・公開設定・詳細を設定
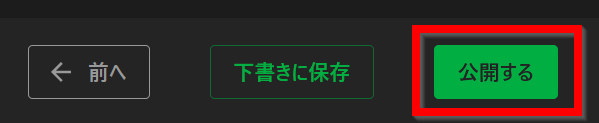
をクリック
カスタマイズ画面の使い方
しばらくすると変換が終了して のタブに現れるので、モデルをクリックして開く
ボタンをクリック
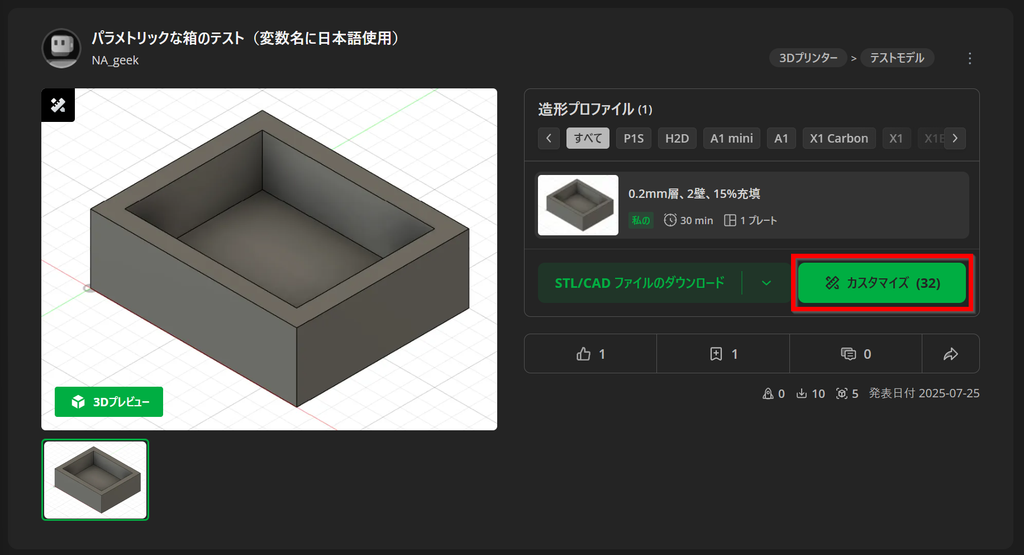
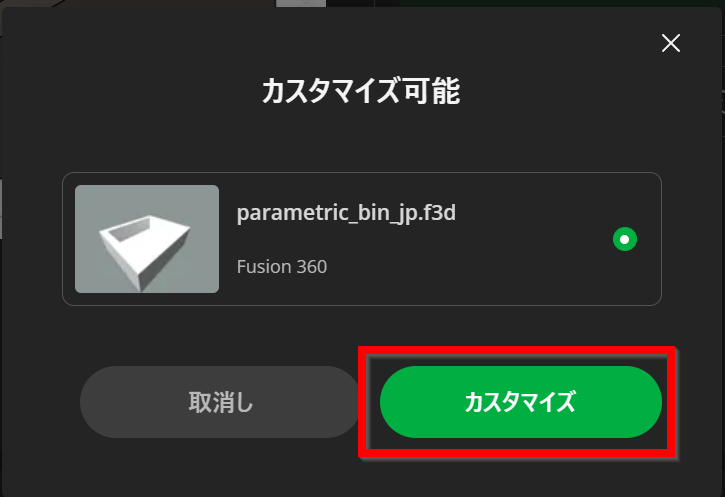
ボタンをクリック
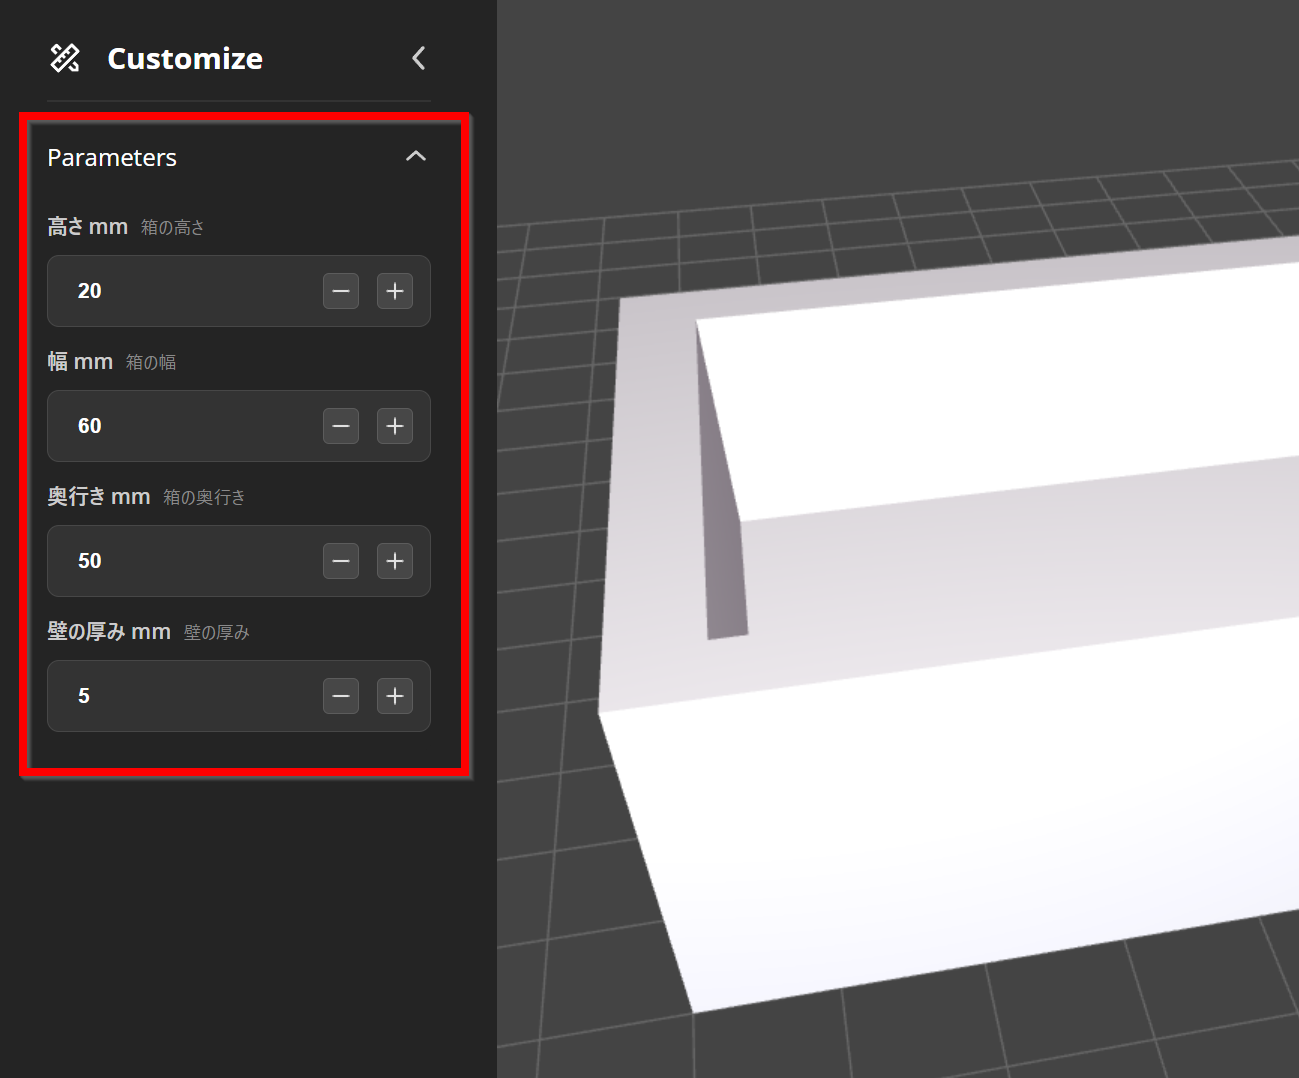
少し待つとCustomizer画面が開きます。左のパラメータを変更し、 をクリックすると右のプレビュー画面の立体形状が変化するのを確認しましょう
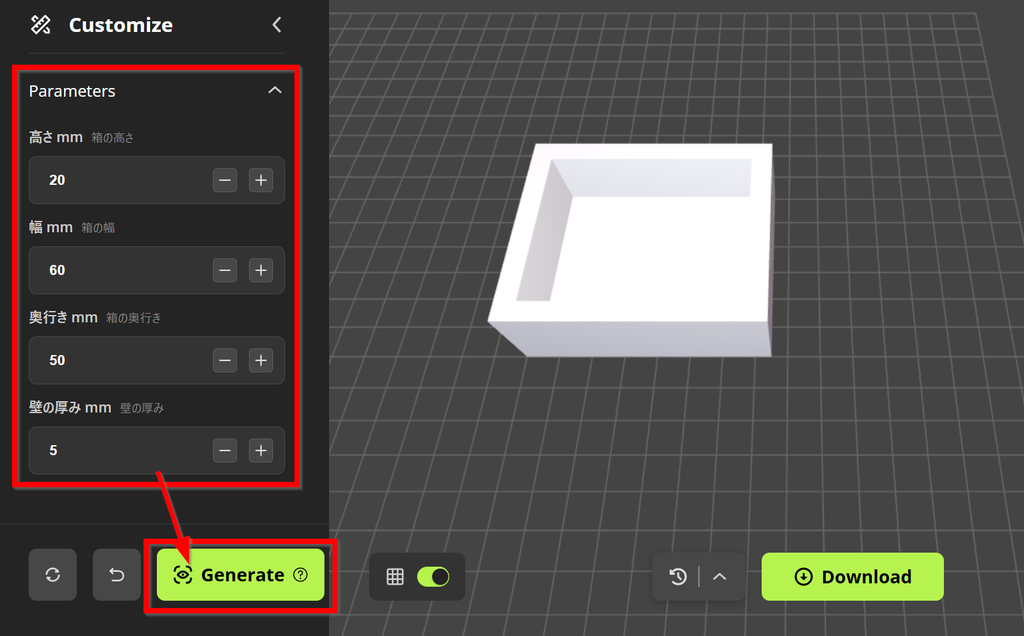
ボタンをクリックすると出力するBambu Labの3Dプリンタを選ぶ画面が出ます。
その他の3Dプリンタを使っている人は無視して をクリック
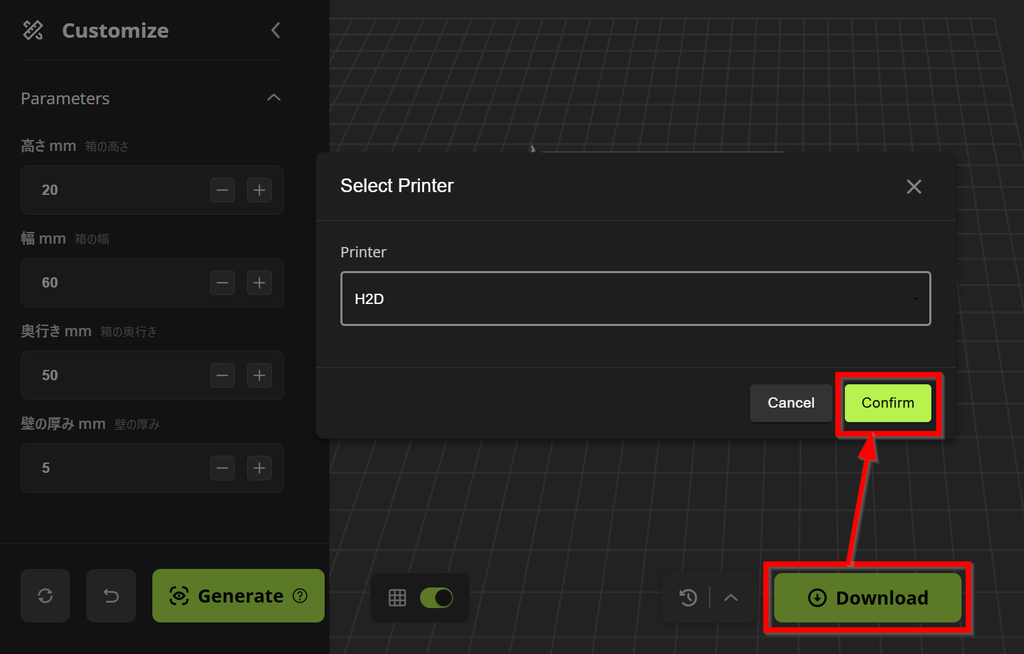
をクリック
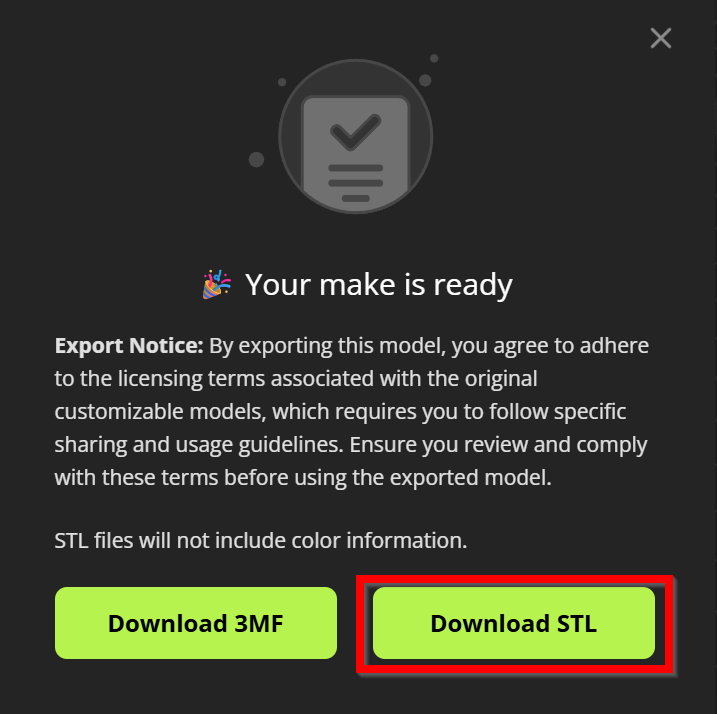
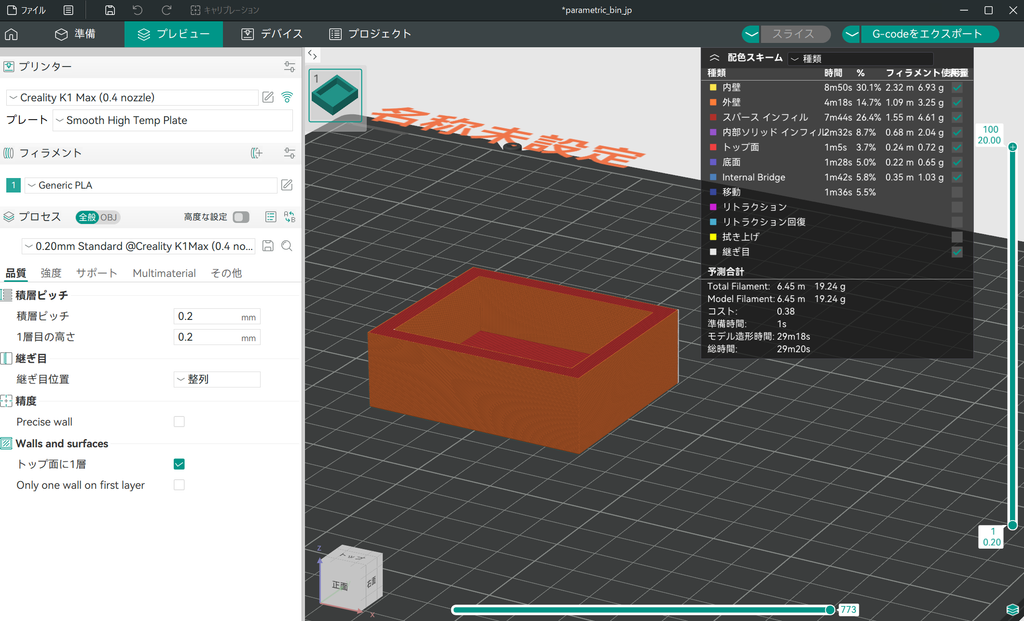
ダウンロードされたSTLファイルを出力する3Dプリンターにあわせてスライス、出力します
追加設定:変数の範囲の設定とスライダーへの変更
カスタマイズボタンの右上にある「 」をクリックして をクリック
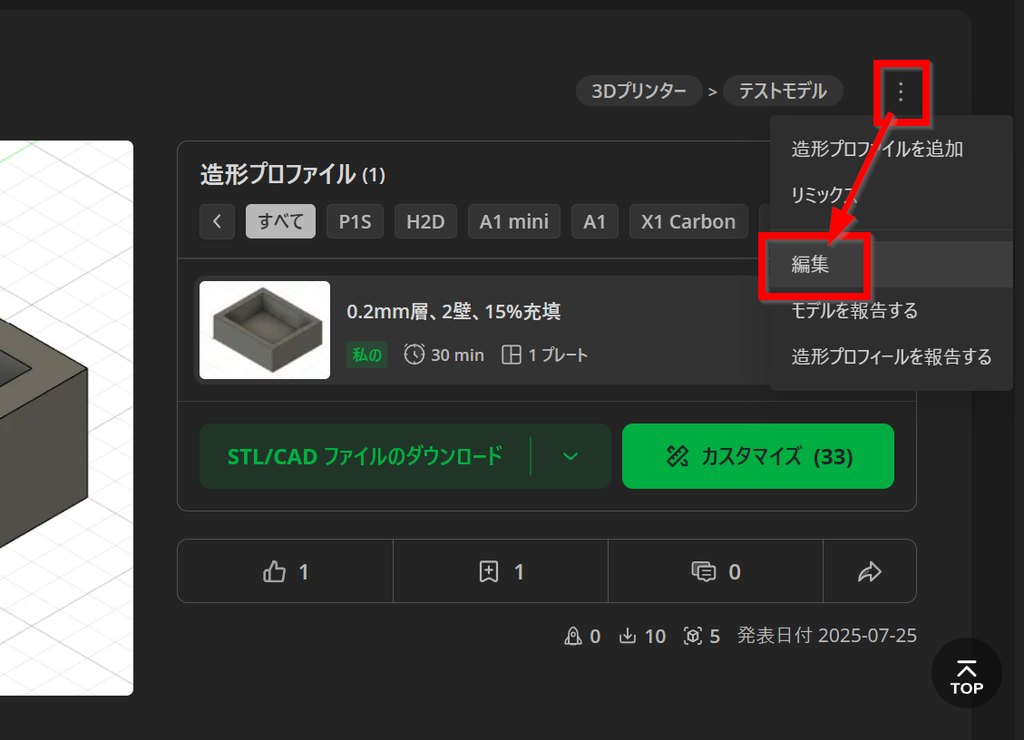
をクリック
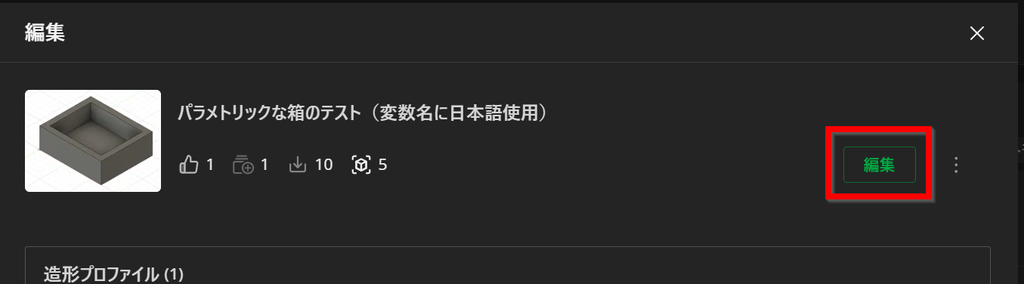
プロジェクト編集画面が出るので、アップロードファイル名の左のサムネイル画像をクリック

Customizerの設定画面が開きます。
変数名の右の歯車アイコンをクリックし、 をクリック
: 初期値
: 最小値
: 最大値
: 1目盛りあたりの変動量
を設定して をクリック
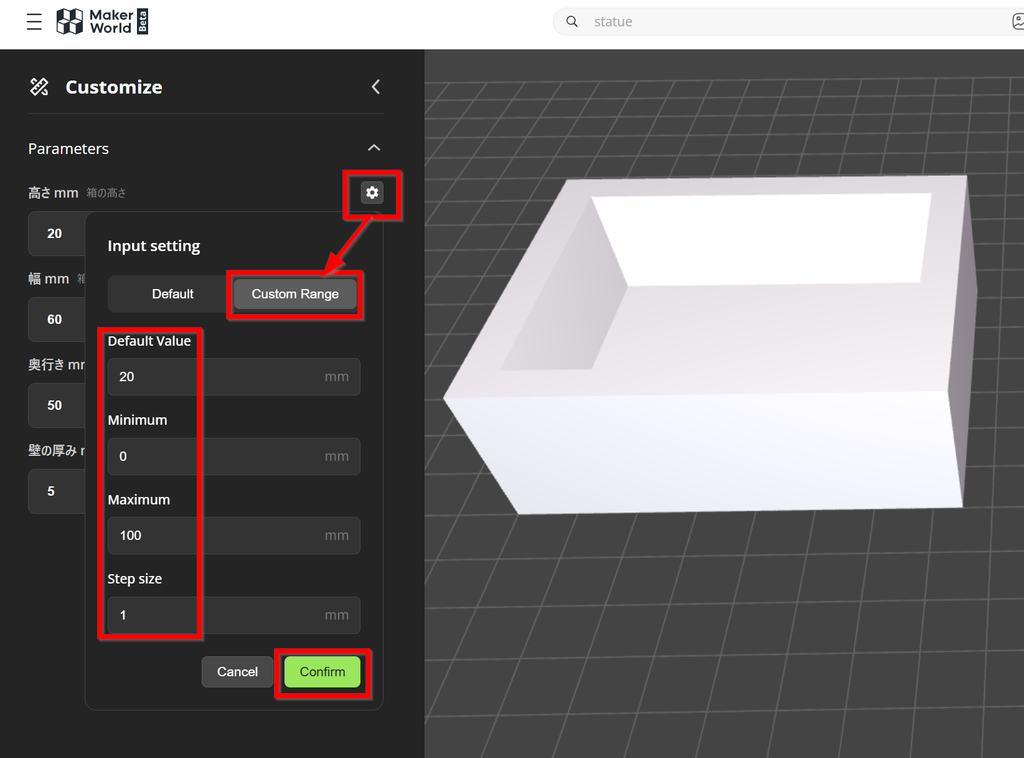
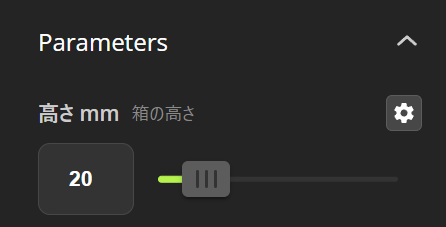
設定したパラメータは、数値入力ではなくスライダーに変更されます
トラブルシューティング
- パラメータが表示されない → Fusionで★付けてお気に入りパラメータにする
- タイムアウト → 設計が複雑すぎるので単純化
- 向きがずれる → 原点設定を見直す
まとめ
Fusionのパラメータ+MakerWorldのカスタマイザーで「利用者が寸法を変えてダウンロードできるモデル公開」が可能になりました。
現在はこの機能は無料利用OKですが、将来的にはダウンロード時にクレジット制になる可能性が示唆されています。Autodeskの有料APIを使っているようです。
アップロードが有料になることは考えづらいですが、今のうちに、まずはシンプルなモデルで試し、反応を見ながら改良してみましょう。